Welcome to this month’s Blogorail Yellow Loop. Today we are sharing ways to countdown to your Disney vacation.

Making Your Own Disney Countdown Calendar
Throughout the years, we have looked forward to each and every vacation! We have used different methods for countdown for each Disney trip, but for our next trip, we decided to make a more permanent Disney countdown calendar that can be used for multiple trips.
Since I’m not the most crafty person, it was a no-brainer that the kids and I would look to our local craft place, Crafter Hours LLC. I messaged the Crafter Hours Facebook page to see if they had an idea for a Disney countdown calendar, and they did! Then, all we had to do was to find a day that we could head over and craft.
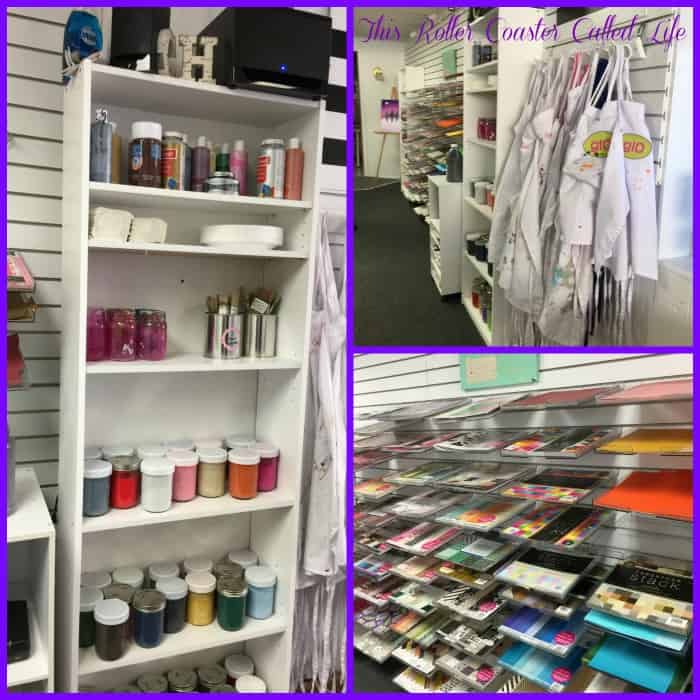
We looked over their current crafts and each chose a project to make. There were a couple of walls full of craft possibilities. After we chose our projects, we grabbed an apron, picked out our paint choices, and perused all the different choices of paper.
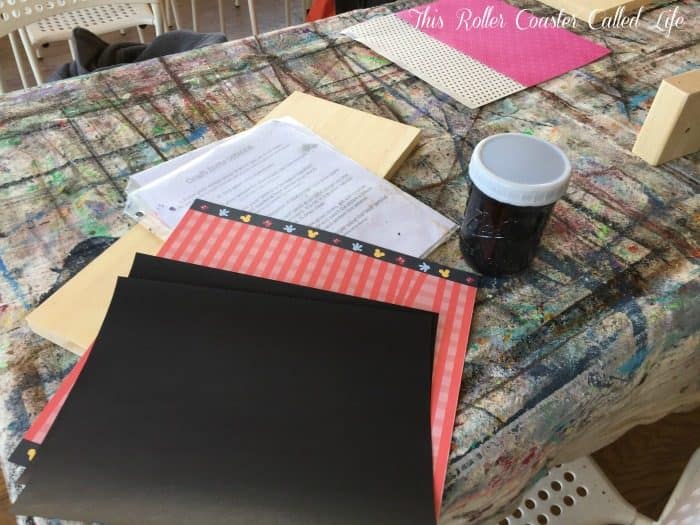
After picking out the craft paper for the countdown calendar, I grabbed some paint and the correct size board needed for the project. I dropped off the black paper at the desk where the owner cut out the letters needed using her Cricut.
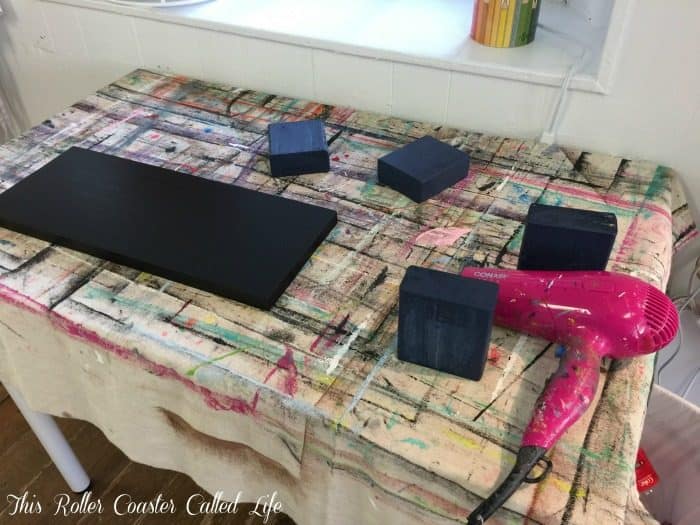
I started by painting the board a flat black. There are blow dryers to speed the drying process. NOTE: Crafter Hours uses flat black instead of chalkboard paint. I haven’t used either type of paint before for a chalkboard project, so I am unable to compare the two. So far, the flat black seems fine.

After painting the board, I took my paper and cut it down to the size I needed for the board.
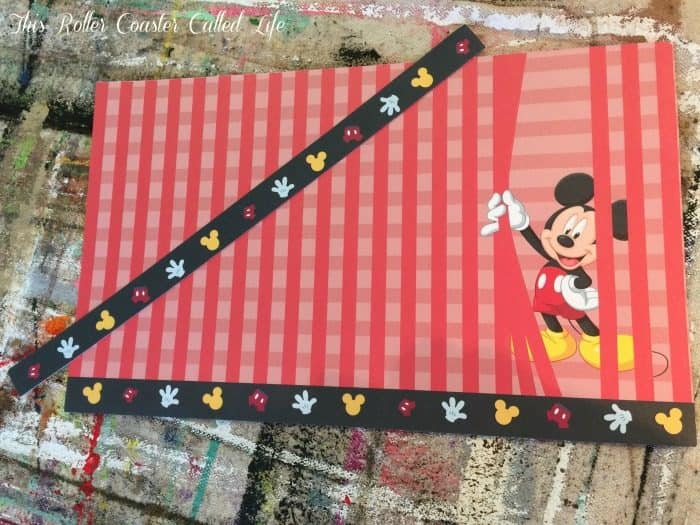
Because I wanted a balanced look, I cut off the top border to use on my calendar. I cut the large piece to fit the board exactly from top to bottom and put the border on top of the paper.
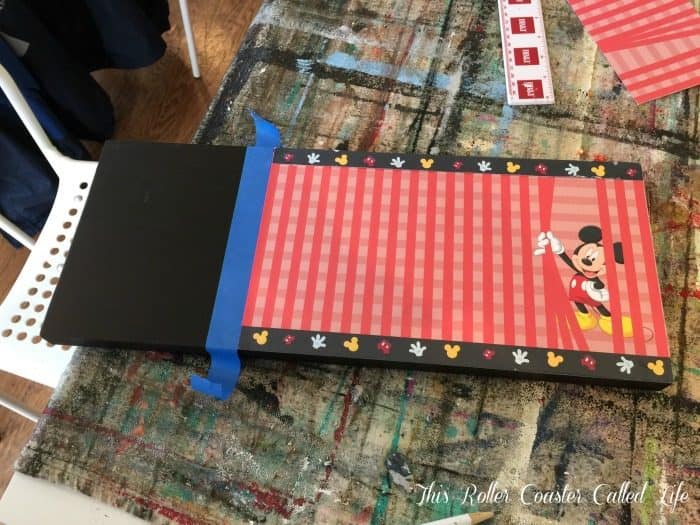
I used Mod Podge to attach the sheet to the board and then to glue the border on. Since, I was about ready to use a lot of Mod Podge and didn’t want any on the part that I would be writing on, I used painters tape to make sure the Mod Podge stayed where it was supposed to.
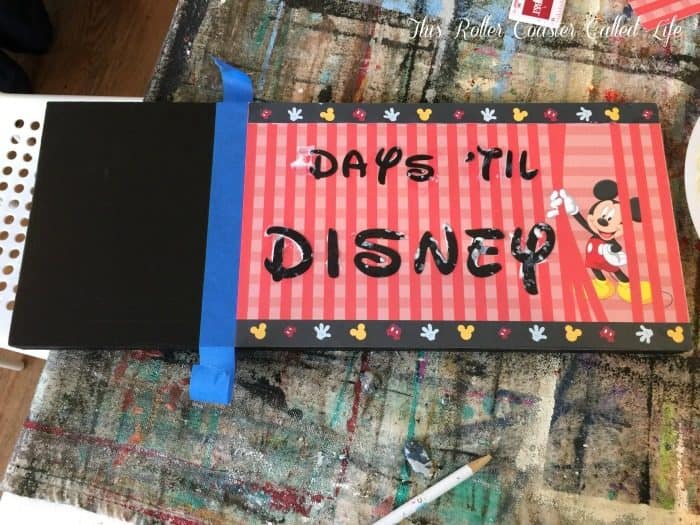
Then, I added the letters with Mod Podge. Since, the plan was to cover the entire surface with Mod Podge, I didn’t have to be too careful when doing each letter.
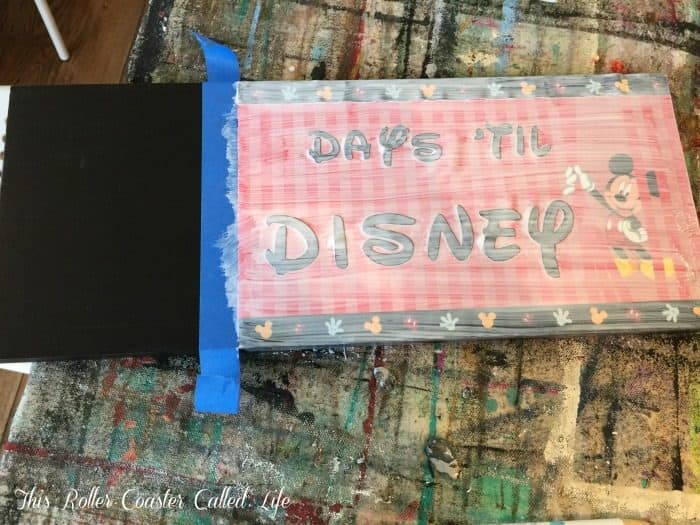
After the letters were on, I carefully covered the entire surface of the craft paper with Mod Podge.
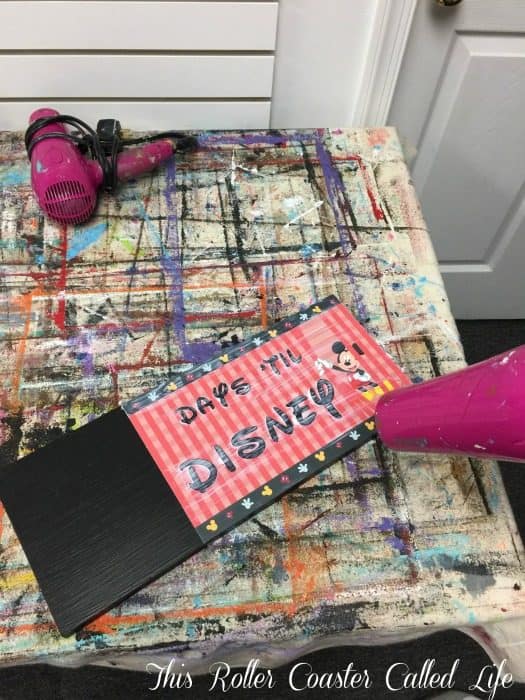
I was so thankful for the blow dryers! As the Mod Podge dried, I pressed down gently on some of the bubbles to expel some of the Mod Podge and allow those spots to dry flat.
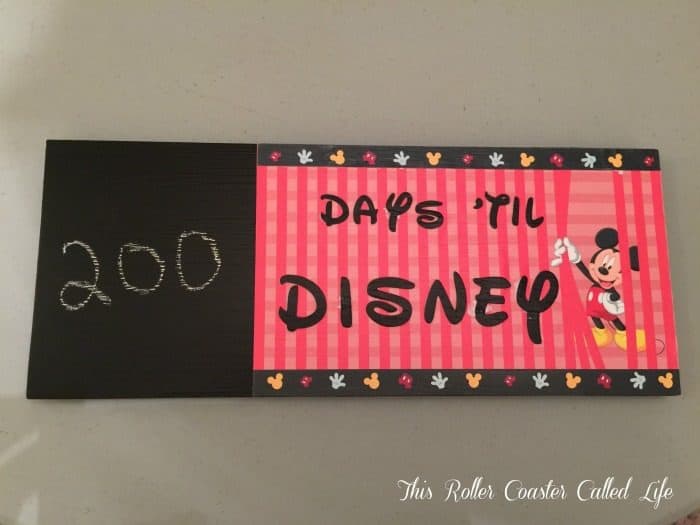
This Disney countdown calendar was a fun project to make and looks great on my wall! What a fun way to count down to our next Disney trip!
check out the other great posts from the Blogorail!
Here is the map of our Magical Blogorail Yellow | Disney Vacation Countdown Ideas Loop:
- 1st Stop – Adventureland Pam | Disney Vacation Countdown Calendar
- 2nd Stop – This Roller Coaster Called Life | Making Your Own Disney Countdown Calendar
- 3rd Stop – Adventures in Familyhood | Recycled K-Cup Disney Vacation Countdown Chart
- 4th Stop – The Delightful Life | Free Printable Disney Countdown Chains
Oh, this is so cute, too! How fun is your craft store too, to have all that stuff to do on-site?! We may have to make a chalkboard countdown like this for birthdays or Christmas, even.
It’s so neat that you have a crafting studio nearby to make something like this. I really like that you can use it over and over again.
Your calendar looks great! That’s a great idea to make a chalkboard calendar so it can be used for every trip!
This turned out really cute! My husband I love Disney but sad to say we have 65 weeks left till our trip – so my phone tells me. *sigh* But I need to do something for our house so my little one can see it!