

Disney Halloween Kids Stitch Craft
Are you looking for a fun Disney Halloween craft for your kids? Here is a DIY Disney Halloween craft to get your kids in the Halloween spirit!
Supplies:

- 5.5 x 8.5 Inch Foam Sheets (black & white)
- Embroidery Floss (green, orange, yellow & black)
- Plastic Canvas Needles
- Punch Tool (I used a bead reamer but you could use a nail, wooden skewer or anything sharp and pointed)
- Scissors
- Tape
- Template (provided)
- Foam Board or Empty Box (as a base when punching holes)
Directions:
- Place your 5×8 foam sheet on top of your foam board or empty box.

- Place your template on top of your 5×8 foam sheet.
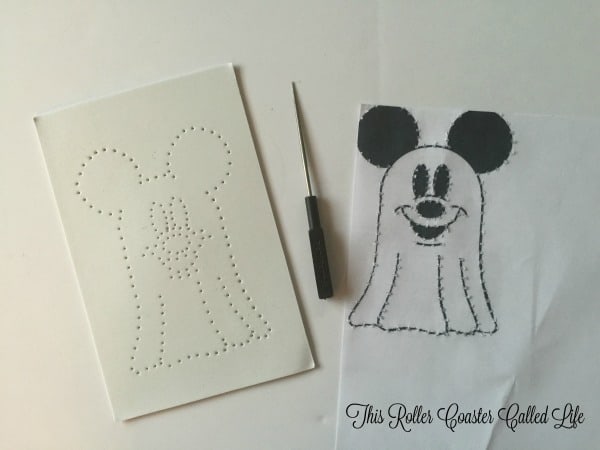
- Using your bead reamer, wooden skewer or nail, punch several small holes along the outside edge and highlights of your template. Be sure to punch hard enough to make it all the way through your 5×8 foam sheet.
- Cut a manageable length of colored embroidery floss for your child to work with.
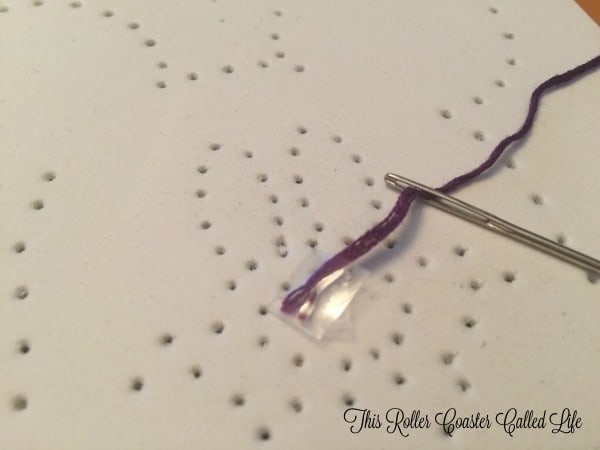
- Use tape to bind one end of the floss as shown above. This will make it easy for your child to thread the plastic needle.
- Have your child tie a knot on the other end of the floss securing the needle to the floss as shown above.
- Start your craft by threading the needle from the back of the 5×8 foam sheet. The tape will act as a stopper on the back of the sheet.
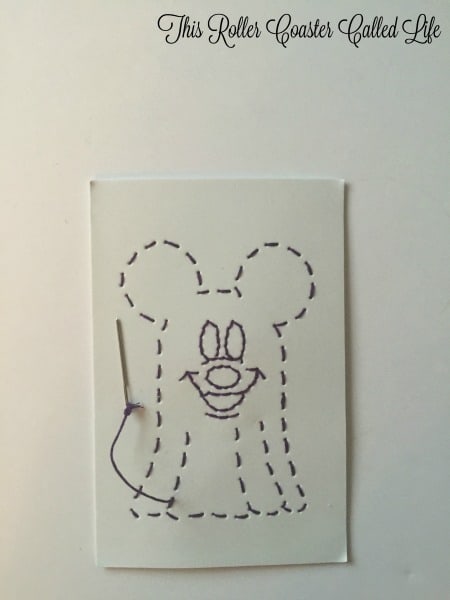
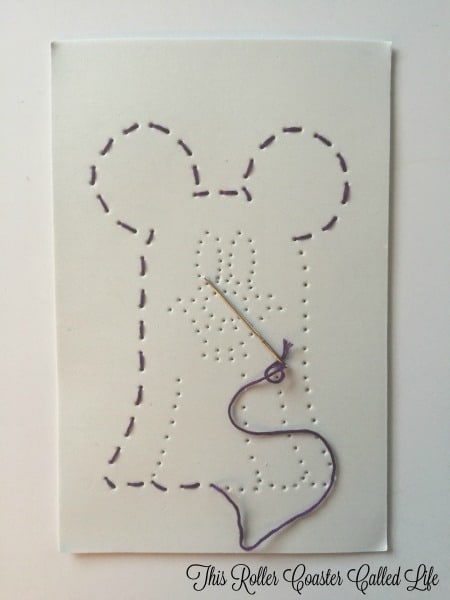
- Change thread color out for your child as needed as you will see in the Mickey Pumpkin below.
- Repeat the process for the second Halloween template and foam sheet.

Here are the process photos for the Mickey Pumpkin.

Note the taped end of the floss to help thread the needle but also keep the end of the thread from going through the holes.

Doesn’t the Mickey Pumpkin look cool with the different colored floss?
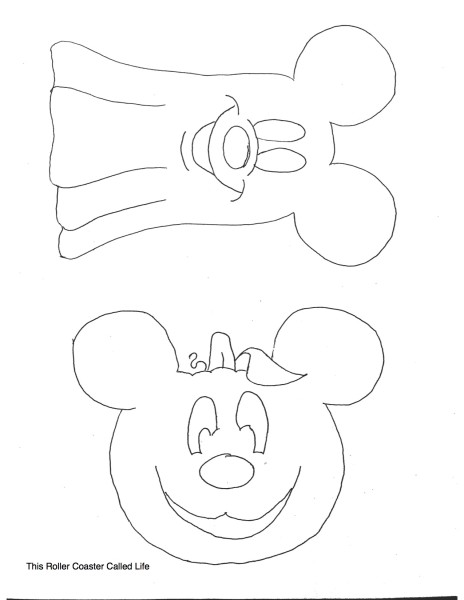
If you would like to make this craft for your kids, click here to get the template PDF or click the image above.
Happy Halloween!
Leave a Reply